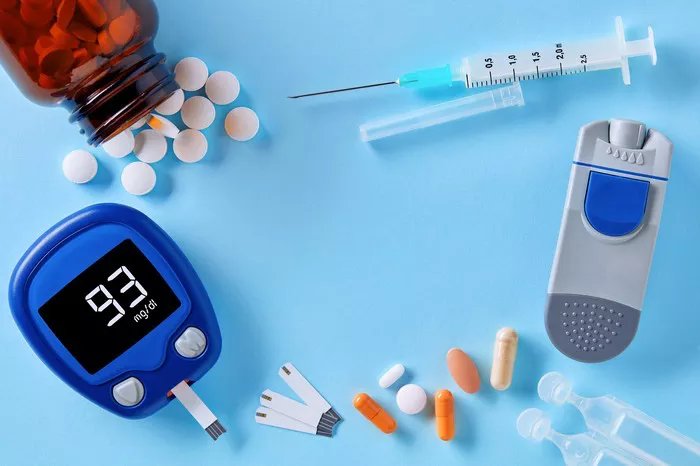
Monitoring blood glucose levels is crucial for individuals with diabetes. Effective glucose monitoring helps in managing diabetes by providing insights into how different factors like food, medication, and exercise impact blood sugar levels. In this guide, we will explore the intricacies of using a glucose test kit, ensuring that you understand the process, the importance of accurate readings, and tips for best practices.
Understanding Blood Glucose and Its Importance
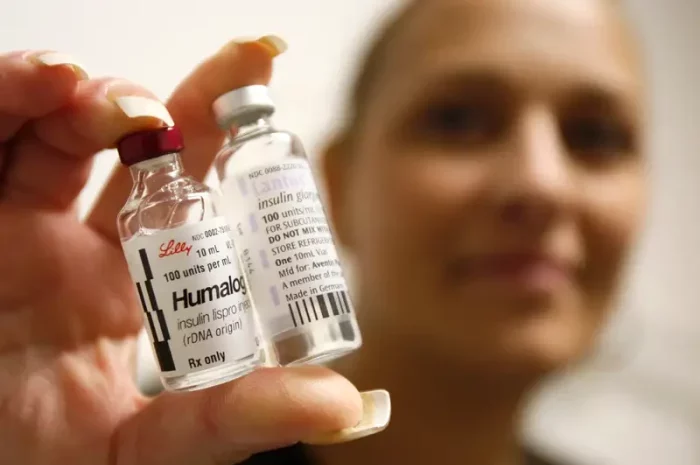
Blood glucose, or blood sugar, is the main sugar found in your blood and your body’s primary source of energy. It comes from the food you eat and is a critical component of metabolic health. The hormone insulin, produced by the pancreas, helps glucose from food get into your cells to be used for energy. When the body either doesn’t produce enough insulin or can’t effectively use the insulin it does produce, glucose remains in the blood and can lead to health problems.
Monitoring blood glucose levels helps in managing diabetes and preventing complications such as heart disease, nerve damage, and kidney disease. By regularly checking glucose levels, individuals can make informed decisions about diet, physical activity, and medications.
Components of a Glucose Test Kit
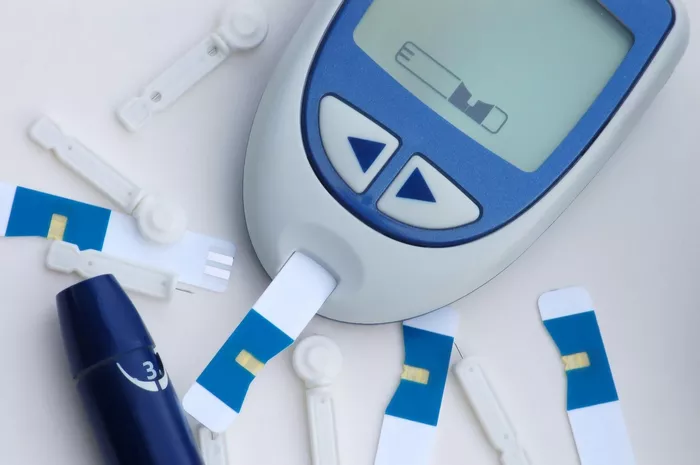
A glucose test kit typically includes several components:
Glucose Meter: A device that measures the amount of glucose in a drop of blood.
Test Strips: Thin strips of paper that contain chemicals that react with glucose.
Lancing Device: A small needle (lancet) used to prick the skin to obtain a drop of blood.
Control Solution: A liquid with a known glucose concentration used to check the accuracy of the meter.
Carrying Case: For easy transport and storage of all components.
Log Book or Digital App: For recording and tracking blood glucose readings.
Steps to Using a Glucose Test Kit
Preparing the Test Site
The most common site for obtaining a blood sample is the fingertip. Ensure your hands are clean to avoid contamination that could affect the reading. Wash your hands with warm water and soap, and dry them thoroughly. Warm water helps increase blood flow, making it easier to obtain a sufficient blood sample.
Preparing the Glucose Meter and Test Strip
Turn on your glucose meter and insert a test strip as per the manufacturer’s instructions. The meter should recognize the strip and perform a quick internal check. Ensure the test strip is properly inserted to avoid errors.
Using the Lancing Device
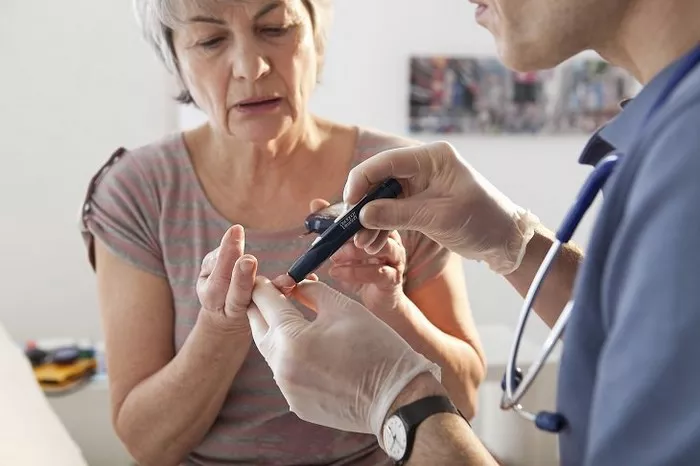
Load the lancing device with a new lancet. Adjust the depth setting on the lancing device according to your skin type—thicker skin may require a deeper setting. Hold the lancing device against the side of your fingertip and press the release button to obtain a drop of blood. Some meters also support alternate site testing (AST) such as the forearm or palm, but this should be verified with your healthcare provider.
Applying Blood to the Test Strip
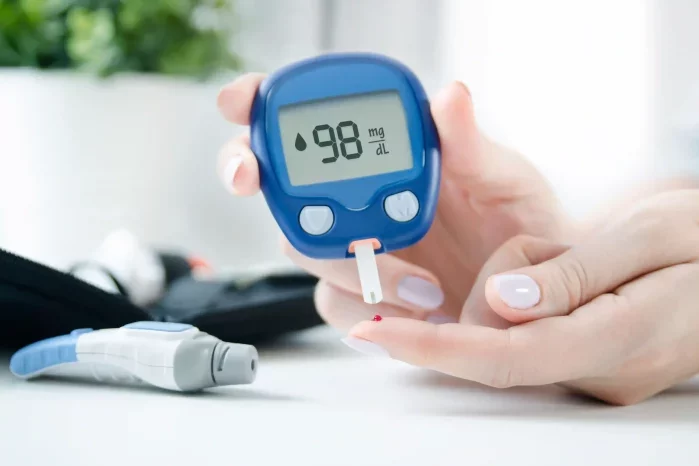
Once a sufficient drop of blood has formed, touch the edge of the test strip to the blood drop. The strip will draw up the blood into the meter for analysis. Avoid smearing the blood or using too small a drop, as this can lead to inaccurate readings.
Reading and Recording the Results
The glucose meter will take a few seconds to analyze the blood sample and display the reading. Record the result in your log book or digital app. Note the time, date, and any other relevant information such as recent food intake, medication, or physical activity.
Proper Disposal
Dispose of the used lancet and test strip safely. Many glucose test kits come with a built-in disposal container, or you can use a sharps container for lancets. Test strips can be disposed of in regular trash unless otherwise specified.
Ensuring Accuracy in Blood Glucose Monitoring
Calibration and Control Solutions
Regularly calibrate your glucose meter using the control solution provided with your kit. This helps ensure that the meter is providing accurate readings. Follow the instructions on how to use the control solution, usually involving placing a drop on a test strip and verifying the reading against the known value.
Proper Storage of Supplies
Store your glucose meter, test strips, and lancets in a cool, dry place. Test strips are particularly sensitive to moisture and extreme temperatures, which can affect their accuracy. Always check the expiration date on test strips and replace them as needed.
Consistent Testing Routine
For meaningful data, establish a consistent testing routine. Test at the same times each day, such as before meals, two hours after meals, and before bedtime. This consistency will help you and your healthcare provider understand patterns and make informed adjustments to your management plan.
Interpreting Blood Glucose Results
Understanding what your blood glucose readings mean is crucial for managing diabetes effectively.
Normal Ranges
For most people without diabetes, blood glucose levels should be:
- Fasting (no food for 8 hours): 70-99 mg/dL
- 2 hours after meals: less than 140 mg/dL
Target Ranges for People with Diabetes
The American Diabetes Association (ADA) suggests the following targets for people with diabetes:
- Fasting: 80-130 mg/dL
- 2 hours after meals: less than 180 mg/dL
Adjusting Your Management Plan
If your readings are consistently outside your target range, you may need to adjust your management plan. High readings (hyperglycemia) could indicate a need for more medication, dietary changes, or increased physical activity. Low readings (hypoglycemia) might suggest that you need to adjust your medication dosage or timing, or that you need to ensure you’re eating enough.
When to Contact Your Healthcare Provider
Frequent high or low readings should be discussed with your healthcare provider. They can help identify patterns and make necessary adjustments to your treatment plan. Additionally, if you experience symptoms of severe hyperglycemia (e.g., extreme thirst, frequent urination, nausea) or hypoglycemia (e.g., confusion, dizziness, sweating), seek medical attention immediately.
Advanced Features in Modern Glucose Meters
Modern glucose meters come with a variety of advanced features that can aid in diabetes management.
Data Management
Many meters now come with Bluetooth connectivity and companion apps that allow you to sync your readings to a smartphone. These apps can provide detailed charts, trends, and insights, making it easier to track your glucose levels over time.
Multiple Test Memory
Meters with memory functions can store hundreds of past readings. This feature is useful for reviewing past data without needing to manually record each reading. Some devices can also calculate averages over 7, 14, or 30 days.
Event Markers
Event markers let you tag readings with additional information such as “before meal,” “after meal,” “exercise,” or “medication.” This context helps in understanding how different factors influence your blood glucose levels.
Alternate Site Testing
Some meters allow for blood samples to be taken from alternate sites such as the forearm, palm, or thigh. While fingertip testing remains the most accurate, alternate site testing can be a less painful option for frequent testing.
Ketone Testing
Certain meters can also measure blood ketone levels, which is important for individuals with type 1 diabetes or those on ketogenic diets. High ketone levels can indicate diabetic ketoacidosis (DKA), a potentially life-threatening condition.
Common Issues and Troubleshooting
Even with the best equipment, issues can arise. Here are some common problems and their solutions:
Error Messages
If your meter displays an error message, refer to the user manual. Common issues include:
- Insufficient blood sample
- Test strip inserted incorrectly
- Meter malfunction
Inconsistent Readings
If your readings seem inconsistent, check:
- Test strip expiration date
- Proper calibration
- Adequate blood sample size
- Correct storage of supplies
Difficulty Obtaining a Blood Sample
If you have trouble getting a sufficient blood sample, try:
- Warming your hands before testing
- Using a new lancet for each test
- Adjusting the depth setting on your lancing device
- Massaging your hand and finger before lancing
Tips for Accurate Blood Glucose Testing
Rotate Testing Sites
Repeatedly pricking the same spot on your finger can cause soreness and calluses. Rotate testing sites to allow healing and reduce discomfort.
Hydration and Blood Flow
Staying well-hydrated ensures good blood circulation, making it easier to obtain a blood sample. Dehydration can lead to thicker blood, which can be harder to draw.
Regular Equipment Maintenance
Keep your glucose meter clean by wiping it with a damp cloth. Avoid using alcohol or harsh cleaners, which can damage the device. Periodically check the battery and replace it as needed to ensure accurate readings.
Stay Educated
Stay informed about the latest diabetes management strategies and glucose monitoring technologies. Attend diabetes education classes and regularly consult with your healthcare provider to stay updated.
Conclusion
Using a glucose test kit effectively is a cornerstone of diabetes management. By understanding the components, steps, and best practices for using a glucose meter, individuals can gain valuable insights into their blood sugar levels and make informed decisions about their health. Regular monitoring, proper technique, and accurate record-keeping are essential for maintaining optimal blood glucose control and preventing complications.
Diabetes management is a lifelong journey that requires vigilance, education, and the right tools. By mastering the use of a glucose test kit, you empower yourself to take control of your diabetes and lead a healthier, more informed life.
Related topics:

