Effective blood sugar monitoring is essential for managing diabetes and preventing complications. Accurate and consistent blood glucose checks allow diabetic individuals to make informed decisions about their health, diet, and medication. This article aims to provide a thorough understanding of how to check blood sugar levels, the tools used, and the best practices for optimal diabetes management.
Understanding the Importance of Blood Sugar Monitoring
Blood sugar monitoring is at the heart of diabetes management. Diabetes occurs when the body either cannot produce enough insulin or cannot use it effectively, leading to elevated blood glucose levels. Over time, if these levels remain uncontrolled, they can cause significant damage to the heart, kidneys, nerves, and eyes.
Monitoring blood glucose allows individuals with diabetes to stay within their target range and adjust their lifestyle and treatment plans as needed. It also serves as an early indicator of potential complications, helping patients take action before problems become severe.
Types of Blood Sugar Tests
Before diving into the methods of checking blood sugar, it’s essential to understand the types of blood sugar tests commonly used by diabetics.
1. Self-Monitoring of Blood Glucose (SMBG)
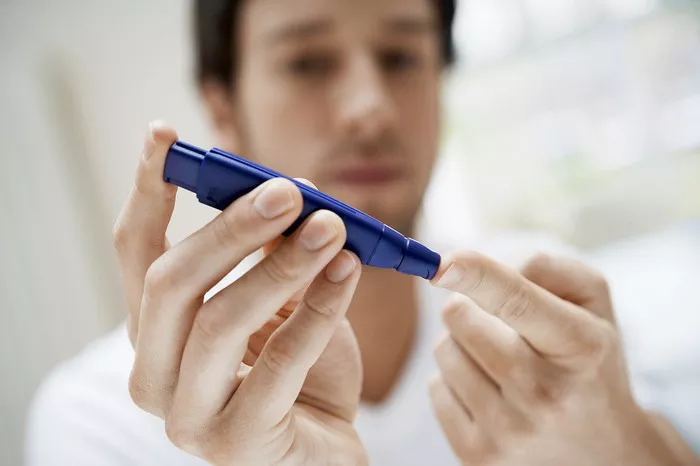
Self-monitoring of blood glucose (SMBG) involves using a blood glucose meter to check your blood sugar levels at different times during the day. This is the most common method used by diabetics to monitor their blood sugar levels at home.
2. Continuous Glucose Monitoring (CGM)
Continuous glucose monitoring (CGM) involves wearing a small sensor under the skin that measures blood glucose levels continuously throughout the day and night. This method offers real-time data and is particularly useful for people who need to closely monitor their glucose levels or those with type 1 diabetes.
3. A1C Test
The A1C test, also known as the hemoglobin A1c test, measures the average blood sugar levels over the past two to three months. This test is typically performed at a doctor’s office every 3 to 6 months to assess overall diabetes control.
While SMBG and CGM provide real-time blood sugar data, the A1C test helps provide a long-term picture of how well diabetes is being managed.
How to Check Blood Sugar: Step-by-Step Guide
Step 1: Gather Your Supplies
To perform blood glucose testing using a meter, you will need the following supplies:
Blood glucose meter: A portable device that measures blood glucose levels.
Test strips: Disposable strips that work with the meter to analyze the blood sample.
Lancing device: A small device used to prick the skin to obtain a blood sample.
Alcohol wipes: For sanitizing the area where you’ll prick your skin.
Cotton ball or gauze: To stop any bleeding after taking the sample.
Logbook or app: To track and record your blood sugar levels over time.
Step 2: Wash Your Hands
Before you start, wash your hands with warm water and soap. Clean hands ensure that you get an accurate reading and reduce the risk of infection. If you don’t have access to soap and water, you can use an alcohol wipe to clean your hands.
Step 3: Prepare the Lancing Device
A lancing device is used to prick your skin and draw a small blood sample. Most lancing devices are adjustable, allowing you to choose the depth of the needle. If you’re new to blood sugar testing, start with a shallower depth to minimize discomfort.
Step 4: Choose the Pricking Site
Most people prefer to test their blood sugar on the sides of their fingers rather than the pads. This is because the sides tend to be less sensitive, making the test less painful.
Tip: Alternate between different fingers and spots to reduce soreness.
Note: Avoid using your thumb or pinky fingers, as these tend to have more nerve endings and are more sensitive.
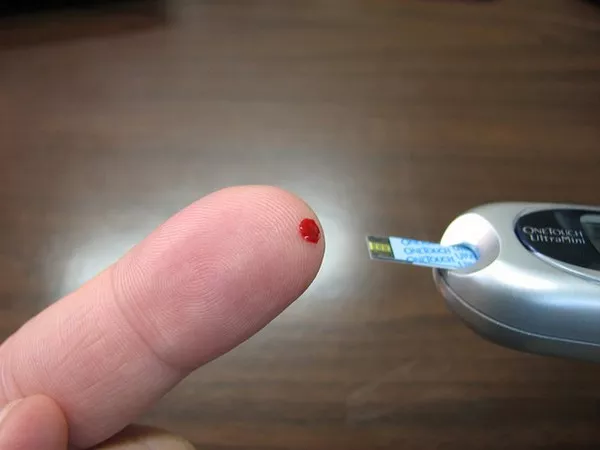
Step 5: Prick the Skin and Obtain a Blood Sample
Once your lancing device is set up and your site is chosen, place the device against the side of your finger and press the button to prick the skin. You should see a small drop of blood appear.
If blood doesn’t immediately form, you can gently squeeze your finger to encourage it to appear. Avoid using excessive pressure, as this can cause an inaccurate reading.
Step 6: Apply the Blood Sample to the Test Strip
Now that you have a blood sample, immediately apply it to the test strip. Most glucose meters have a small window where the blood is drawn into the strip. Ensure that the blood fills the strip properly, as a poorly filled strip can lead to an inaccurate reading.
Step 7: Wait for the Result
Once the blood is applied, the meter will process the reading. Most meters display results within 5 to 30 seconds. It’s essential to follow the instructions specific to your meter to ensure the test is done correctly.
Step 8: Record the Results
After receiving the blood sugar reading, record it in a logbook or digital app. This helps track trends in your blood sugar levels over time. Keeping a record can also be helpful during doctor visits, as it provides insight into how well your diabetes management plan is working.
Step 9: Clean Up
Once you’ve completed the test, dispose of the test strip and lancet in a proper sharps container. Clean your fingers and the lancing device with an alcohol wipe if needed.
Using Continuous Glucose Monitors (CGMs)
For individuals who prefer continuous tracking of their blood sugar levels, CGMs offer a non-invasive option. These devices consist of a small sensor placed under the skin (usually on the abdomen or arm) that measures glucose levels in the interstitial fluid (the fluid between cells).
CGMs provide real-time data, which is valuable for detecting fluctuations in blood sugar levels throughout the day and night. This allows individuals to adjust insulin doses, activity, and diet more promptly. The system typically includes an external transmitter that sends the data to a handheld device or smartphone app.
CGMs can also alert users when their blood glucose levels are too high or low, making it easier to avoid hypoglycemia (low blood sugar) or hyperglycemia (high blood sugar). However, these devices need to be calibrated periodically to ensure accuracy.
When and How Often to Check Blood Sugar
The frequency of blood sugar testing depends on several factors, including the type of diabetes, the treatment plan, and how well blood sugar levels are controlled.
Type 1 Diabetes: Individuals with type 1 diabetes may need to check their blood sugar levels 4 to 10 times a day, including before and after meals, before and after exercise, and at bedtime.
Type 2 Diabetes: For type 2 diabetics, the frequency of testing may vary. Those who take insulin or other blood sugar-lowering medications may need to check more often than those who manage their diabetes with lifestyle changes.
Gestational Diabetes: Pregnant women with gestational diabetes should monitor their blood glucose levels several times a day, as advised by their healthcare provider.
Target Blood Sugar Ranges
For optimal diabetes management, it’s crucial to understand the recommended blood sugar target ranges. However, target ranges can vary based on individual circumstances, so always consult with a healthcare professional. Here are general target guidelines:
Fasting blood sugar (before meals): 80–130 mg/dL
Post-meal blood sugar (1–2 hours after eating): Less than 180 mg/dL
A1C: Less than 7%
Factors Affecting Blood Sugar Readings
Several factors can influence blood sugar levels, leading to fluctuations in readings. Understanding these factors helps diabetics interpret their results more accurately.
1. Food and Drink
The type of food you consume can significantly impact blood glucose levels. Carbohydrates, in particular, raise blood sugar levels, while proteins and fats have a lesser impact.
2. Exercise
Exercise can lower blood sugar levels by improving insulin sensitivity. If you’re testing after a workout, your blood sugar may be lower than usual.
3. Medications
Medications, including insulin and oral diabetes drugs, can affect blood glucose levels. Ensure that you follow your doctor’s instructions for timing and dosage.
4. Stress
Emotional stress can cause blood sugar levels to rise due to the release of stress hormones like cortisol. Managing stress through relaxation techniques can help stabilize glucose levels.
5. Illness
When you’re sick, your body’s stress response may increase blood sugar levels. Always check your blood sugar more frequently during illness and follow your doctor’s guidance.
Common Mistakes in Blood Sugar Testing and How to Avoid Them
Even experienced users can make mistakes while testing their blood sugar. Here are some common errors and tips for avoiding them:
Not washing hands: Always wash your hands before testing to avoid contamination from food residue.
Improper technique: Follow the instructions on your meter to ensure an accurate reading.
Not recording results: Tracking your blood sugar levels is vital for effective diabetes management. Make sure to log your readings consistently.
Conclusion
Blood sugar monitoring is a critical aspect of managing diabetes, empowering individuals to make informed decisions about their health. Whether using a glucose meter for self-monitoring or opting for continuous glucose monitoring systems, regular testing helps to prevent long-term complications associated with uncontrolled blood sugar levels. By understanding how and when to test, interpreting results, and making adjustments to lifestyle and treatment plans, diabetics can lead healthier, more balanced lives.
Related topics: